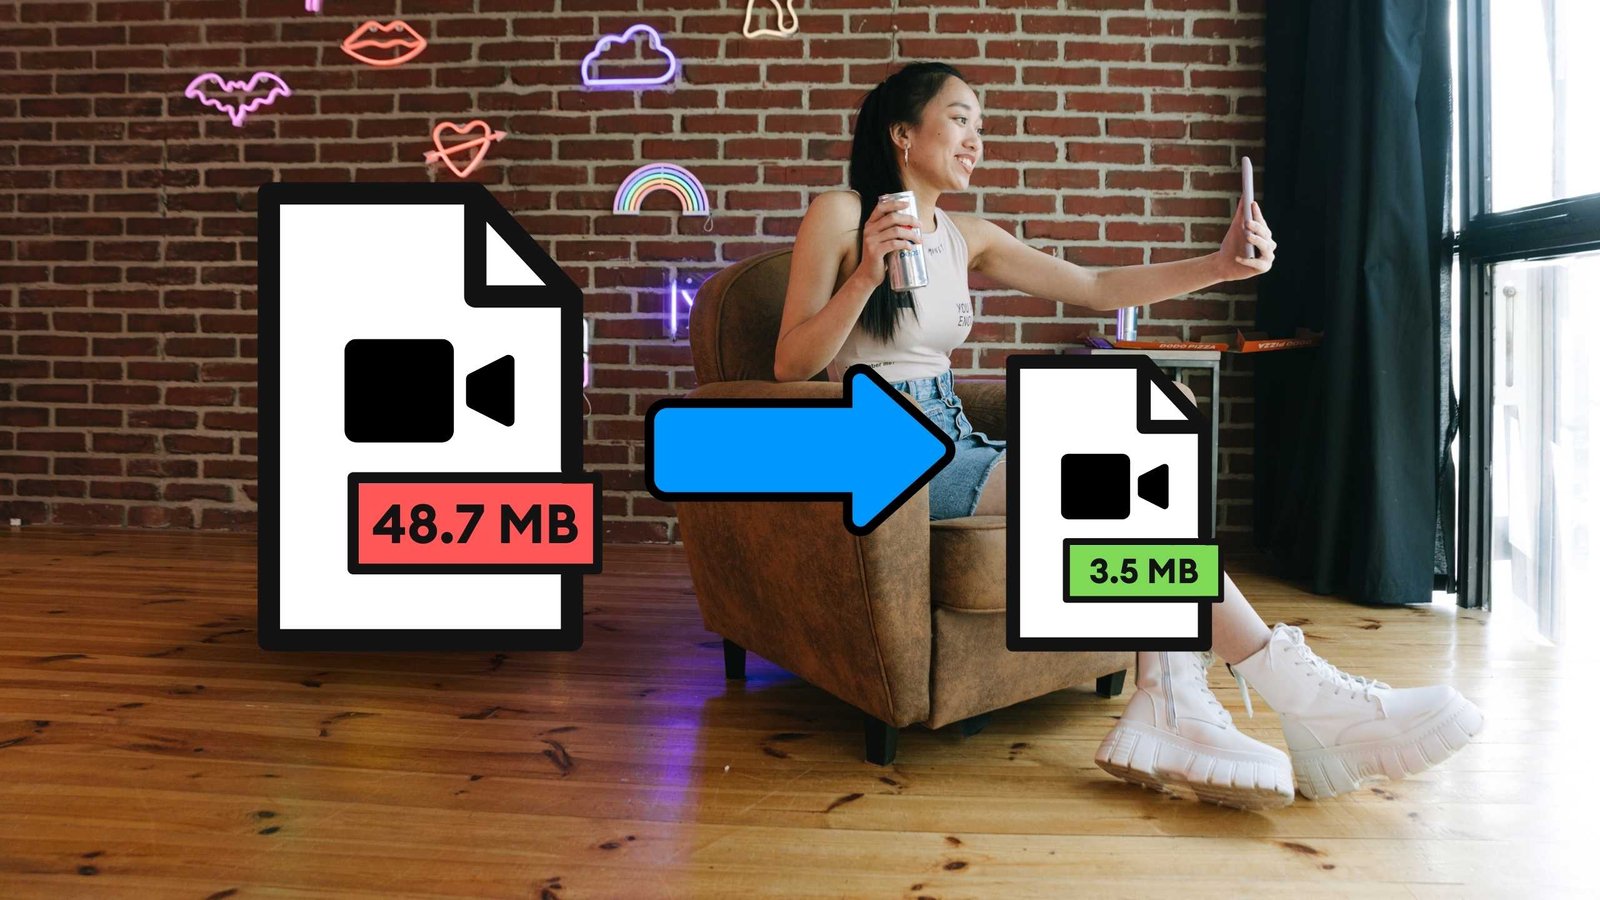
10 Best Practices to Compress Image Files
Enhancing the speed of your website by compressing images is a vital component of operating a successful blog. Regrettably, many bloggers ignore the significance of optimizing their photos before uploading them to their WordPress platform, leading to slow loading times and a bad user experience.
However, numerous effective methods for image compression can improve website speed. By incorporating these strategies into your blogging workflow, you can maintain the quality of your images while optimizing them for the web. In this guide, we’ll explore the steps for optimal image optimization and showcase some user-friendly WordPress gallery plugins that simplify the process.
Benefits of compressing an image file
Optimizing images on your website has numerous benefits that should not be overlooked. Images account for a significant portion of a webpage’s weight, making up about 21% of its total size. Improving image optimization should be a top priority for your website, as it is easier to implement than optimizing scripts and fonts.
Here are the key advantages of formatting images:
Faster Page Load Speed: Optimized images can significantly improve the speed at which your page loads. A slow-loading page can drive visitors away, so improving load times should be a priority.
Better SEO: Image optimization, when combined with a great SEO plugin, can improve your website’s ranking in search engine results. Search engines prefer fast sites, and optimized images help reduce the load time of your website. Additionally, optimized images are likely to be crawled and indexed faster by Google for image searches.
Efficient Backups: With optimized images, backing up your website will be faster.
Reduced Bandwidth Usage: Optimized images have smaller file sizes, which reduces the amount of bandwidth used by your website. This benefits both networks and browsers.
Storage Savings: Depending on the number of optimized thumbnails, optimized images can also save storage space on your server.
Optimizing images for Web
The ultimate objective of formatting images is to strike a harmonious balance between reducing their file size and preserving adequate quality.
One of the most widespread methods involves compressing images before uploading them to WordPress, which can quickly be done using graphic design software such as Adobe Photoshop or Affinity Photo. Don’t forget these tips before starting:
- Select the Optimal Image Format
When modifying your images, it’s crucial to choose the appropriate file type. There are several options, including PNG, JPEG, and GIF. PNG offers high-quality pictures but has a larger file size. JPEG utilizes lossy and lossless optimization, allowing you to adjust the quality and file size balance. Meanwhile, GIF is exclusively for animated images and only has 256 colors. Other formats, such as JPEG XR and WebP, are not widely supported by all browsers. Generally, use JPEG for colorful images and PNG for simple graphics.
- Watch Out for the Compression Balance
Compression is the process of reducing an image’s file size. However, too much compression can result in poor image quality. On the other hand, low compression can maintain the image’s quality but increase its file size. Understanding the impact of compression on an image is critical to finding the optimal balance between quality and size.
- Take Advantage of Image Optimization Tools
There are numerous tools and programs, both paid and free, that can help you optimize your images. From manual optimization tools like Adobe Photoshop and Affinity Photo to automated programs like JPEGMini and ImageOptim, the options are abundant. Experiment with different tools to find the ones that work best for you.
Top ten practices to compress image files
Here are some tips for maximizing the performance of your images on the web:
- Reduce the color palette size by reducing the bit depth.
- Choose lossy compression whenever possible.
- Try different settings to see which works best for each image format.
- Use GIFs for animations, and make sure to compress image files.
- Utilize PNGs for incredible detail and high-resolution scenes.
- Save photos and screenshots as JPGs.
- Remove all unnecessary metadata from images.
- Streamline the optimization process as much as possible.
- For faster first-page load times, consider lazy loading images.
- When using tools such as Photoshop, be sure to save images as “optimized for the web.”
It’s essential to include a copyright notice for image protection on your website. This indicates that the images belong to you and are protected as intellectual property. By adding the information, you remind others that the photos are not freely available for use without your permission.
FooGallery is the best WordPress plugin when it comes to working with compressed images. It allows you to create beautiful galleries, galleries with lightbox support, and even galleries with advanced features.
Conclusion
Optimizing images is crucial for enhancing the speed and overall performance of your website. By following the best practices for compressing image files, you can maintain the quality of your images while reducing their file size. Image optimization plugins can simplify the process and make it more convenient.

